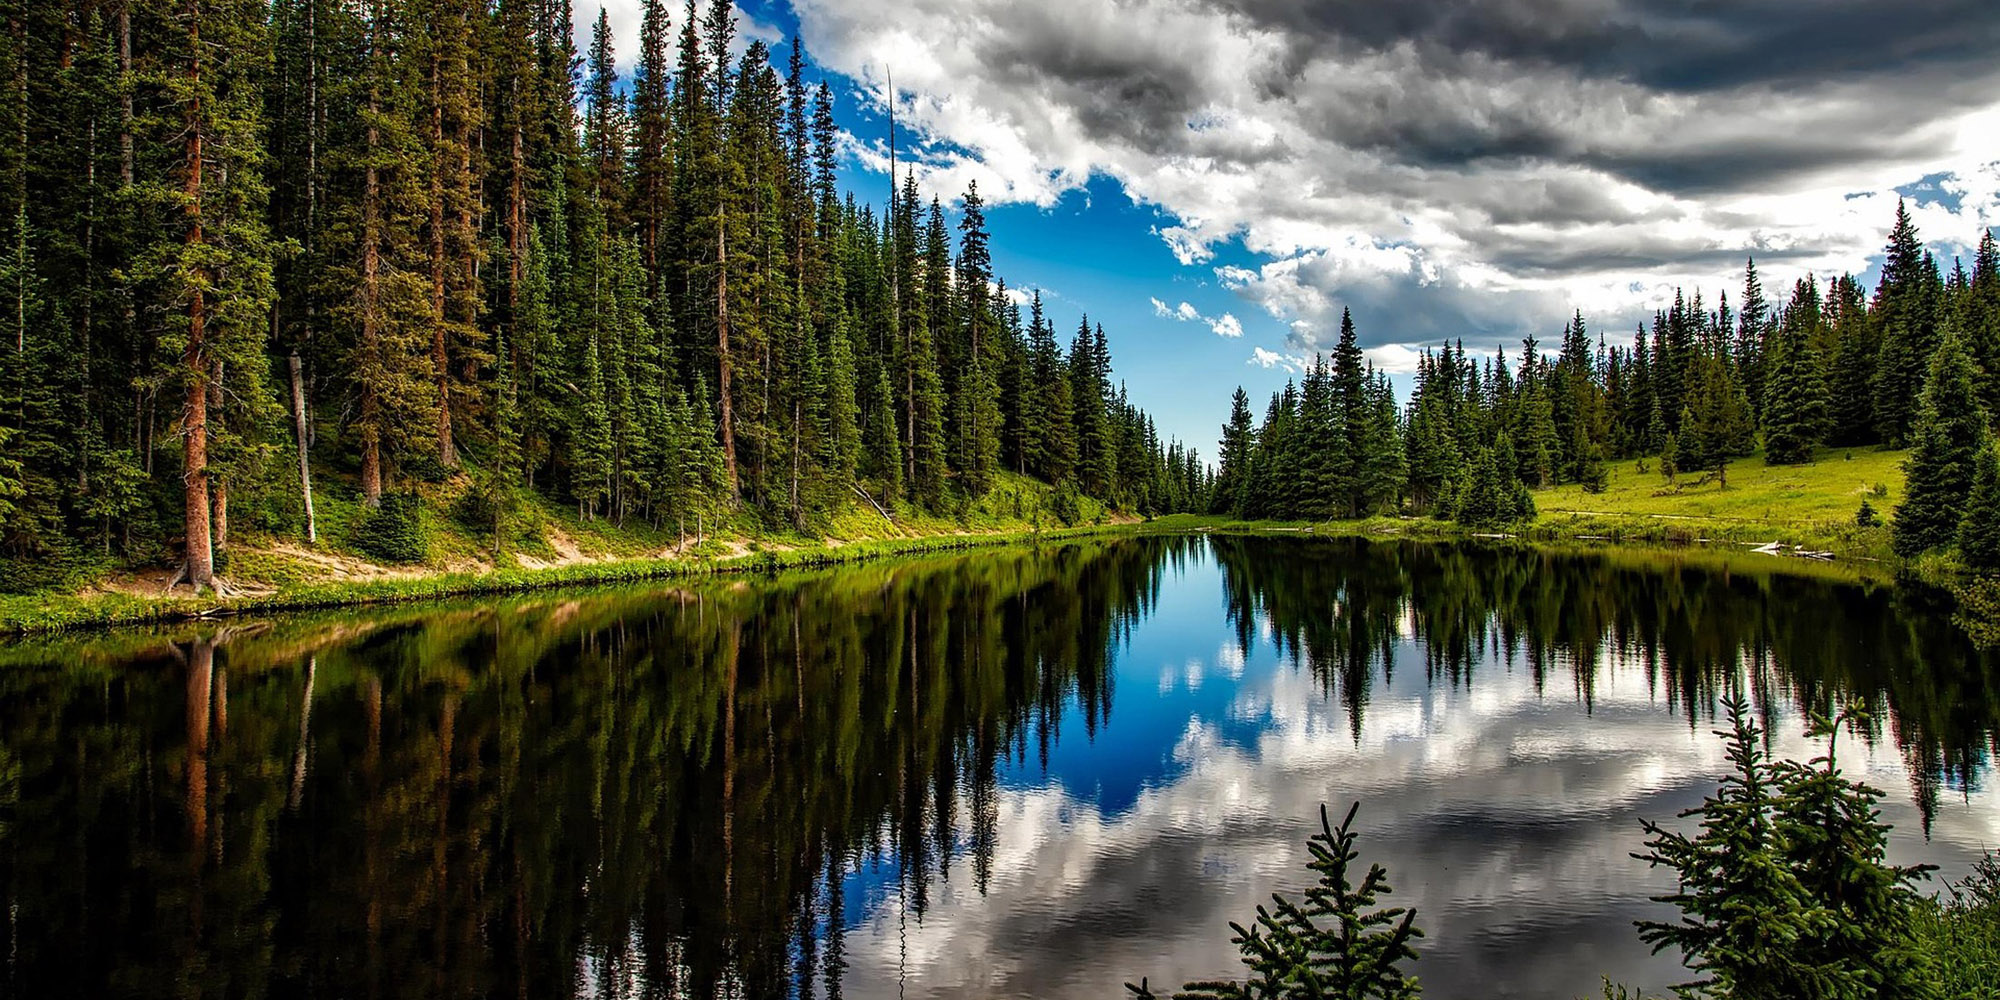
Great Websites Start With Having Great Photos
Having great photos is a priority for modern website design. Most of the best websites today are photo-centric rather than design-centric, so making the effort to take good quality photos or hiring a professional photographer to do the same can make all the difference for your online presence. When people say a website looks great, they may actually mean the photos look great! Many websites have full-width photos used at the top of pages as banners, but it takes planning and foresight to achieve the intended results. Here is a useful guide with some recommendations for avoiding common pitfalls and taking and selecting great website photos.
1. Take photos with purpose
Put together a list of the types of photos you will need for a website or other marketing purposes. This list can apply whether you are having new photos taken or decide to use stock photos. If you need a banner for an About page, then think about some photo concepts for that. If you want to promote a few types of events, then consider what specific photos would convey what you want, for instance: a photo of the audience from the speaker’s point of view, a photo of the speaker from the side, etc. Give some thought to how images can support your website copy, whether it’s reinforcing your brand, highlighting your products and services, or conveying your message to an audience. It will be easier for both a professional photographer and any staff to take good photos if they have a better idea what types of photos are needed.
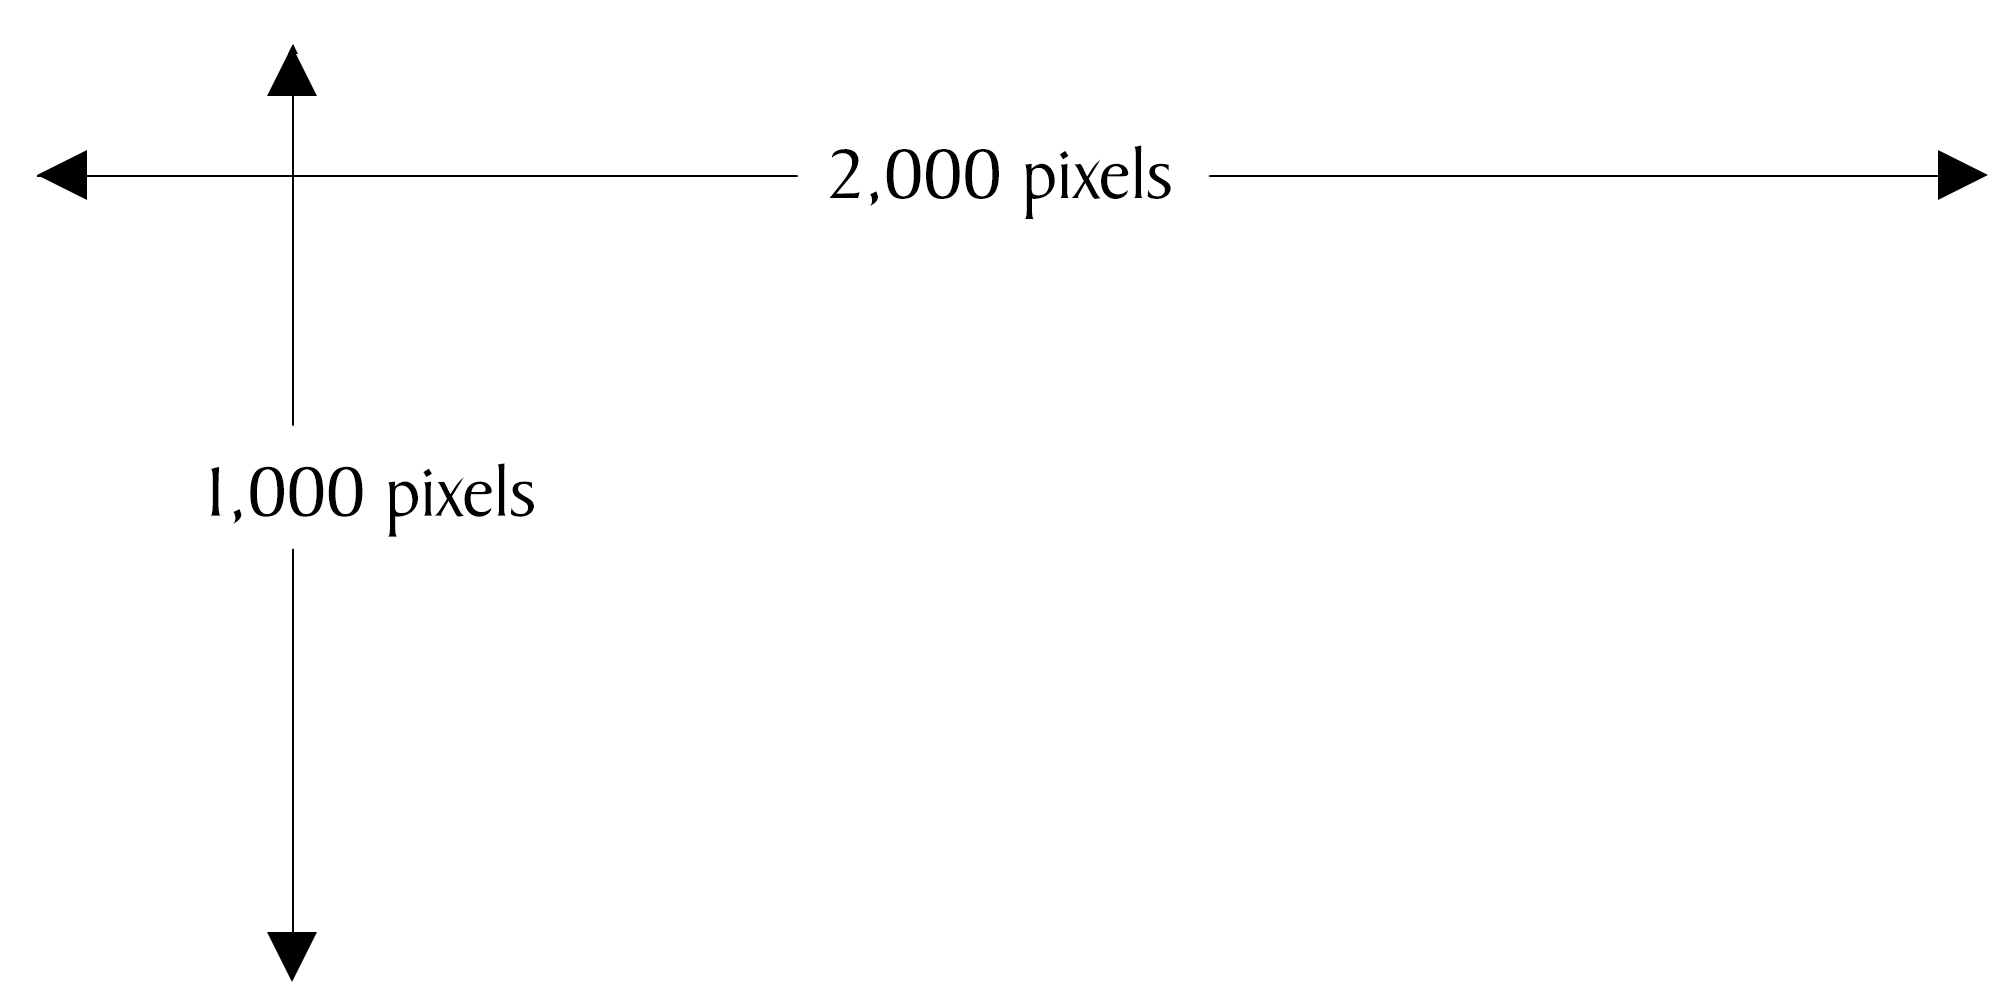
2. Photos provided should be at least 2000px wide
While photos used on a page or tile can potentially be resized to be smaller, we recommend original photos be at least 2000px in width and at least 1000px in height. This is especially important for banner photos which span the width of the screen. We can resize larger photos to a lesser size, but upscaling small or low-resolution photos can result in poor quality, grainy images.
Right-click to download the banner image example below, if you need a template.
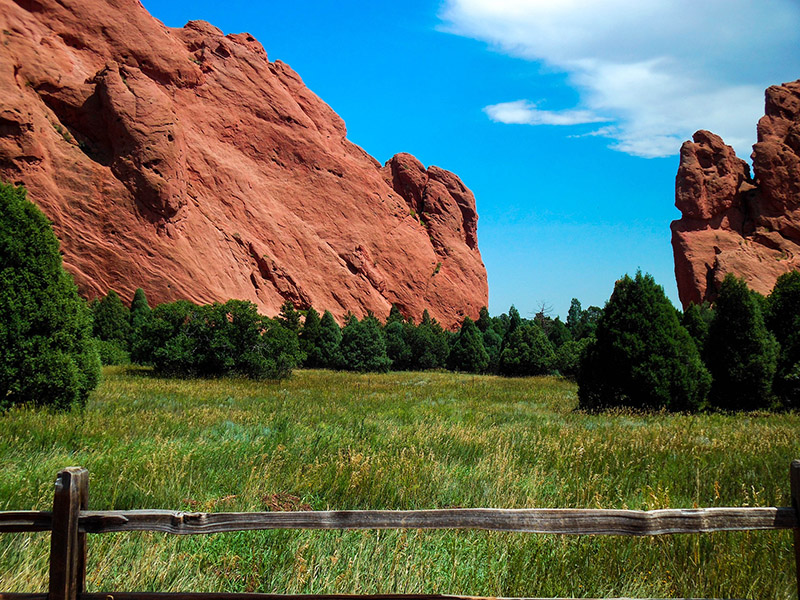
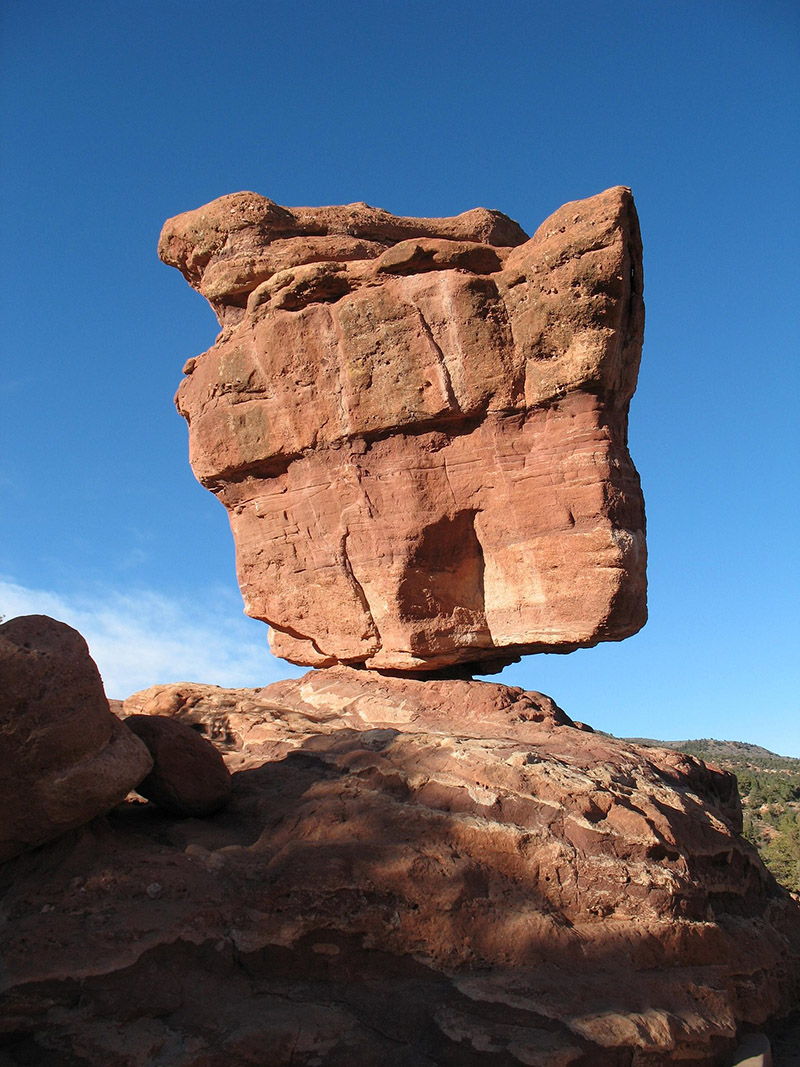
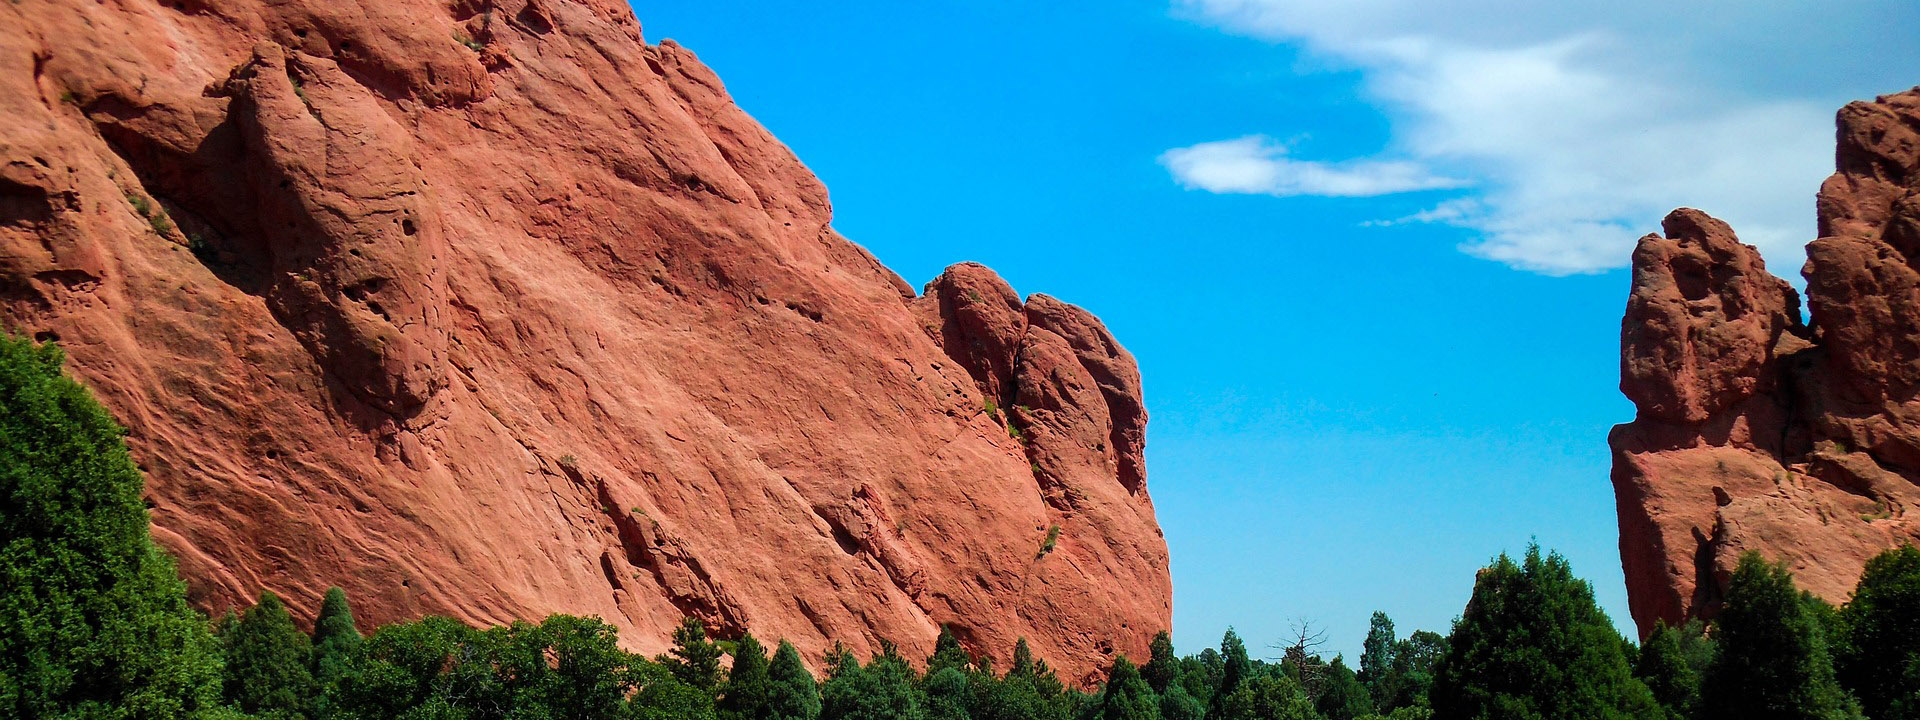
3. Consider whether a landscape or portrait photo is needed
For banners, a landscape-oriented photo is preferred. For tiles within a column, a portrait-oriented photo is often preferred, though landscape can also work. While we can crop portrait photos if they are large enough for the website purpose, the photo content may not necessarily be good for a banner, depending what’s in the photo.
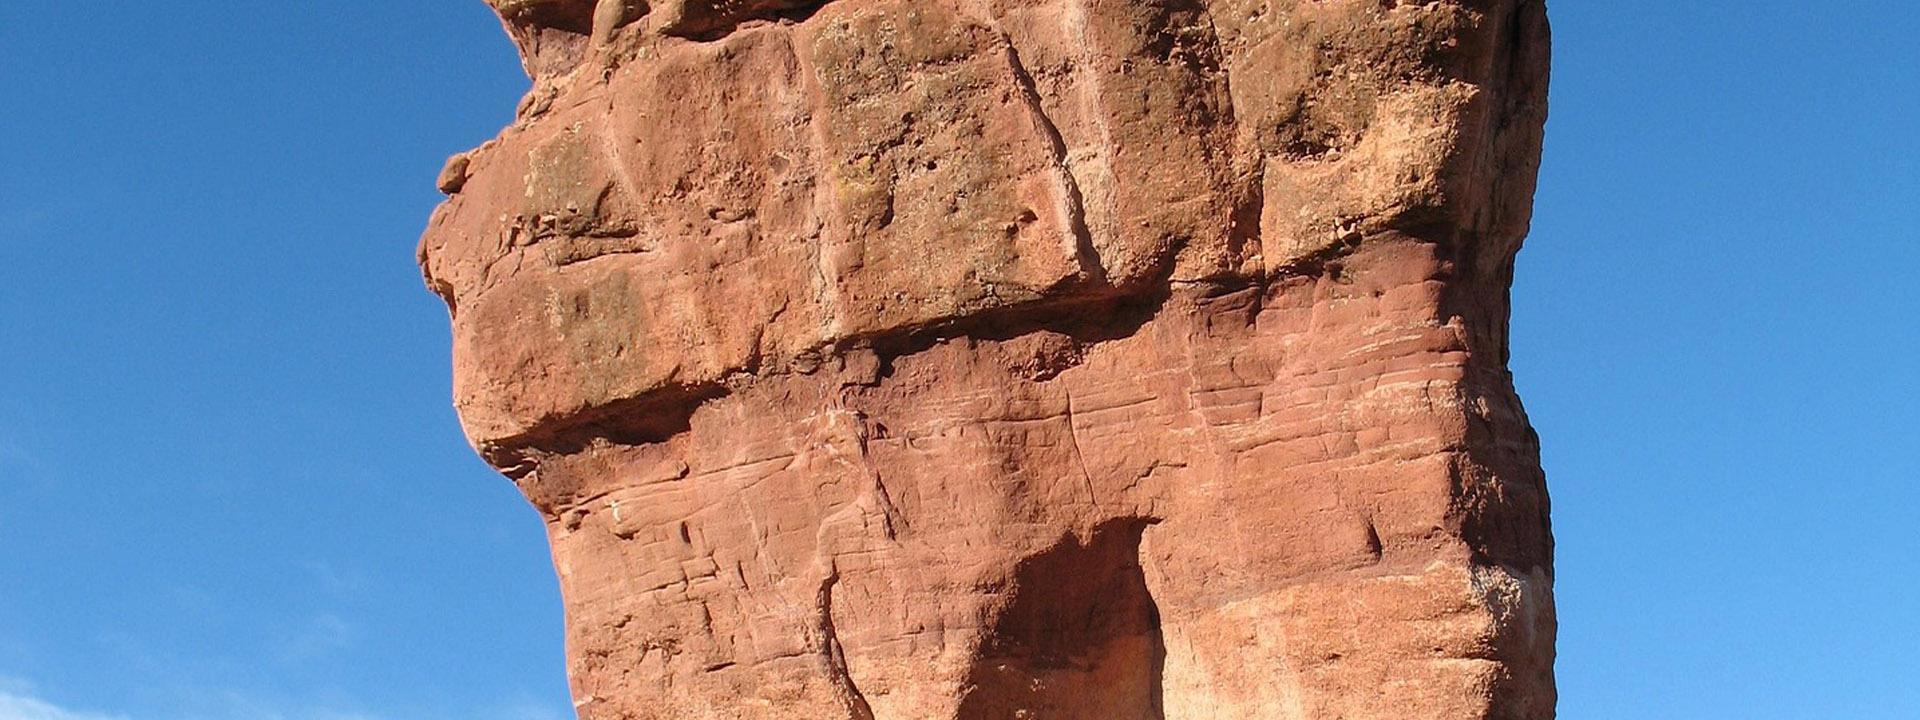
For example, let's evaluate the following two photos take at Garden of the Gods for a website banner. The portrait orientation on the right would look fine as a tile, but if cropped for a banner, wouldn't show the entire boulder.
4. Consider how a photo will be cropped for display on a website
For banners at the top of pages, the height is often cropped, and the final banner may be 66% of the size, 50%, or even 20%. Thus, when taking photos or using existing photos, think about how much of the photo will be shown on a website. Here's an example of cropping both the above images for a banner at 50% of their size.
5. Composition
Composition is about how to position subjects in your photo for a good overall photo. There are several techniques you can integrate into the taking of the photos. The Rule of Thirds is a common recommendation. Think about what subjects you want in your photo, where you want them in the photo, and the lines within the photo. What do you want in the frame?
The setting for the example photo below was most likely staged by the photographer. Note the lines that descend to the bottom-right corner.
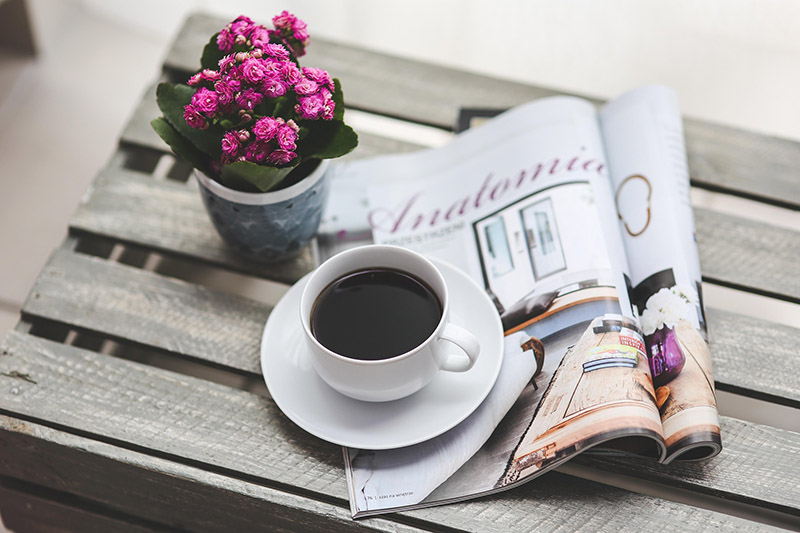
6. Contrast and brightness
When providing photos for a website, the photos need to not be too dark or too bright. Contrast is about a photo having enough difference between light and dark aspects, so that some aspect in the photo stands out to the eye. This can help subjects or colors be more noticeable. The opposite of this would be a photo that is grayed out or muddy, where nothing is distinct or noticeable. Related to that, is having sufficient brightness. Too much brightness could lead to not enough contrast. However, not enough brightness would leave a photo too dark.
This photo has both good contrast and brightness.
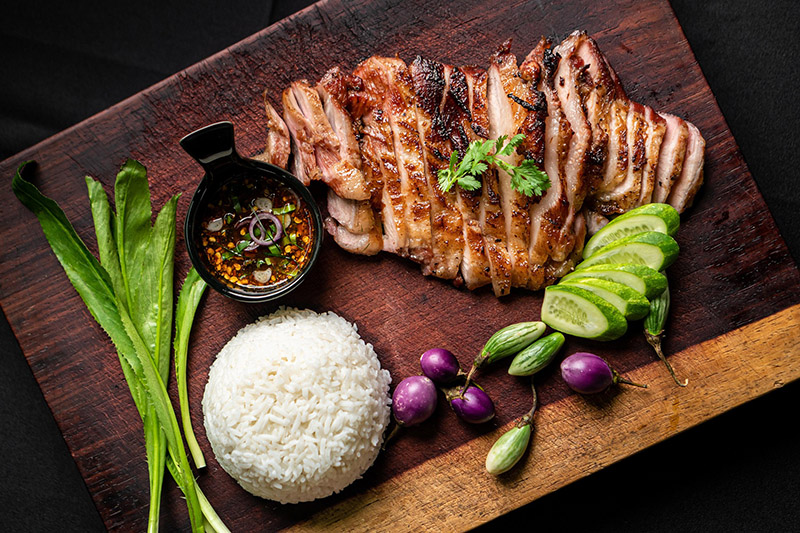
7. Simplicity
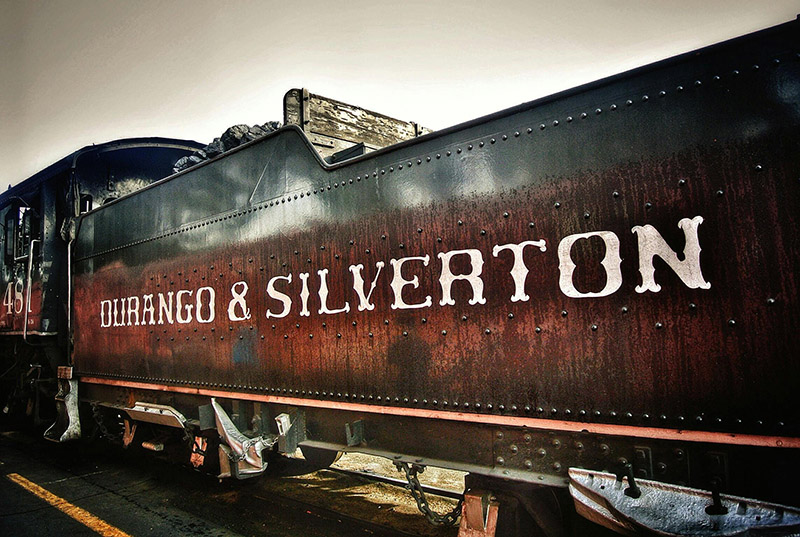
For website photos, less is often more. A photo with several subjects may be more busy to the eye, whereas a photo focused on a single subject may draw the eye and present a cleaner visual. As a photographer, it may also be easier to focus on a primary subject as the goal.
This photo of a train is a good example of simplicity.
8. Photos of individual people and groups
It is generally more difficult to take good photos involving people than landscapes or empty rooms. Composition should be considered, and the angles matter a lot when positioning people relative to each other in a composition. When possible, it’s good to prepare. Think about the location, ask the group to pose, and consider lighting. For any photos of people, after you’ve taken the photo, ask yourself if you think it’s a good photo. Does it present people in a positive way? What does it convey about people? Are any aspects blurry? Do some people look larger because of the angle of the photo? How is the lighting? One of the often overlooked skills many professional photographers possess is that they are good at working with people to get them into position and to have the right facial expressions, body language, and posture.
The following are good examples of photos of people.


9. Get a signed model release before using photos with people
With any photos of people, you typically will need a model release for permission to use photos of a recognizable person for any commercial purpose to avoid violating someone’s privacy rights. When photographing children, you will need to get the parent's permission to use their likeness in photos.
Conclusion
We hope this simple guide will help you achieve great results in your website photography efforts. If you have any additional questions or need more advanced help, please contact us today!
See All Articles
Contact us at 800-484-3985 to get started!
Have Questions? We Have Answers!